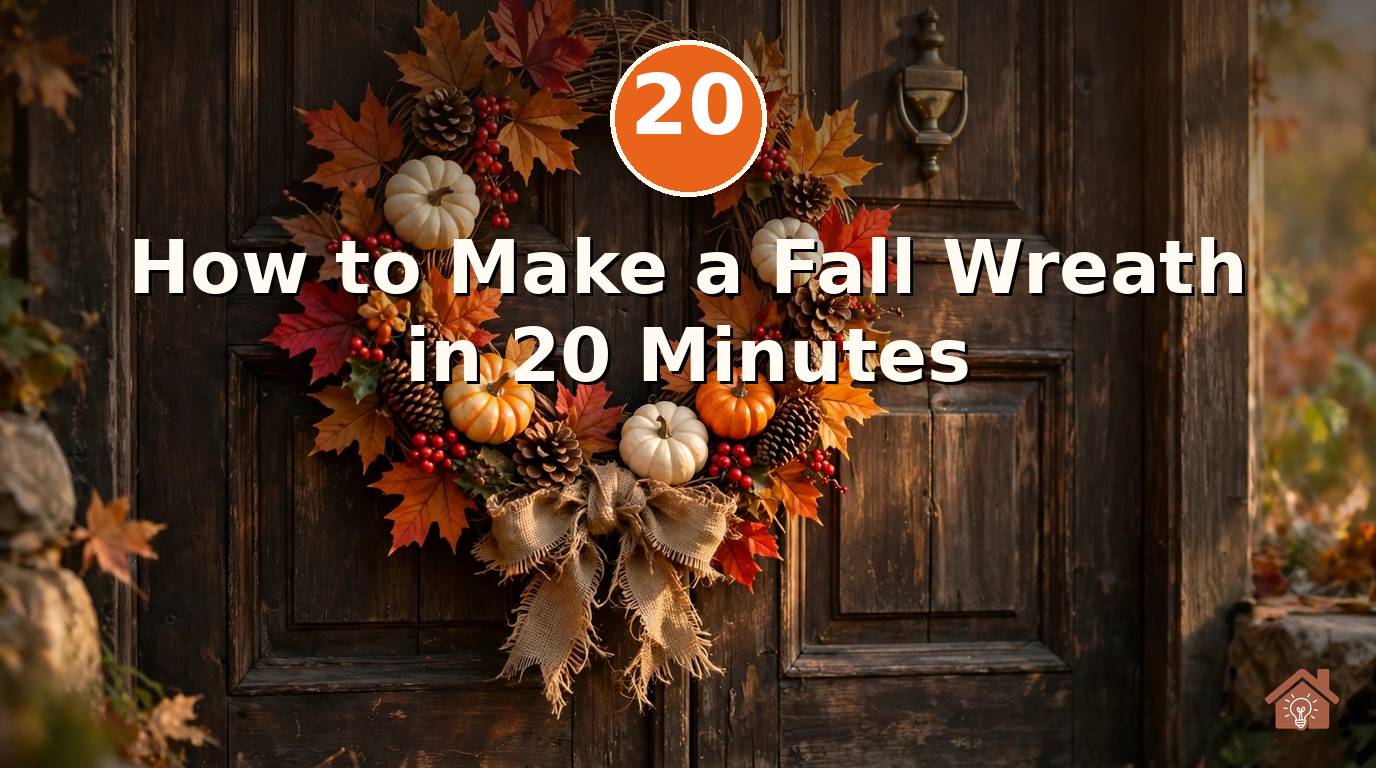
Store-bought fall wreaths can cost forty dollars or more. And half the time they look flat and sad by October.
Here is the good news. You can make your own in about twenty minutes. No craft degree needed.
All it takes is a grapevine base, a few bunches of fall picks, and a simple layering trick. If you can use scissors and a glue gun, you can do this.
This guide walks you through each step in order. By the end, you will have a full, rich wreath that looks straight out of a boutique.
Best base for beginners: a grapevine wreath. It hides wire and glue, grips stems on its own, and looks good even with gaps.
✓ Work in layers — greenery first, colour second, texture last. That order is the whole secret.
✓ Buy odd numbers of picks (3, 5, 7). Odd groups look natural; even groups look stiff.
✓ Step back and look from six feet away every few minutes. That is how guests will see it.
Table of Contents
- What You’ll Need: The 20-Minute Supply List
- Step 1. Pick the Right Wreath Base
- Step 2. Prep Your Picks and Stems
- Step 3. Lay Out Your Design Before You Glue
- Step 4. Anchor the Greenery First
- Step 5. Layer In Bold Fall Colour
- Step 6. Tuck In Texture: Pinecones, Berries and Mini Pumpkins
- Step 7. Tie a Bow That Looks Pro
- Step 8. Fluff, Hang and Step Back
- Conclusion
- FAQs
What You’ll Need: The 20-Minute Supply List
Credit: @lattefueledmonster
Gather everything before you start. Hunting for scissors mid-project kills your flow. Here is the full list:
- One grapevine wreath base (18-inch is the sweet spot for most doors)
- 5–7 fall picks or stems — mix of greenery, maple leaves and berry sprays
- 3–5 texture pieces — mini pumpkins, pinecones or acorn clusters
- Wired ribbon (2.5-inch wide) for the bow
- Hot glue gun + glue sticks, or floral wire if you prefer no glue
- Wire cutters — regular scissors will not cut thick stems
Total cost runs about twenty-five to forty dollars at a craft store. That is still cheaper than most pre-made wreaths, and yours will look fuller.
Shop the floral aisle, not the wreath aisle. Loose fall picks are often buy-one-get-one in September, while finished wreaths stay full price.
Step 1. Pick the Right Wreath Base
Credit: @the_craftyfarmgirl
Your base decides how easy this project feels. For beginners, grapevine wins every time. The twisted vines grip stems without glue, hide your mistakes, and already look rustic before you add a thing.
Wire frames are cheaper but show every gap, so they need more coverage. Foam rings work but demand full wrapping. If this is your first wreath, grab the grapevine and skip the stress.
Size matters too. An 18-inch base fits a standard front door. Going bigger than 24 inches gets heavy and hard to hang. Smaller than 14 inches can look lost on a big door.
Step 2. Prep Your Picks and Stems
Credit: @artful.living.co
Unpack every pick and fluff each stem before it goes near the wreath. Bend leaves outward, spread branches, and straighten anything smashed from the packaging. This one step makes cheap picks look twice as full.
Next, sort your stems into three piles: greenery, colour (maple leaves, orange blooms), and texture (berries, pods). Seeing your piles keeps you from grabbing randomly later.
Trim long stems with wire cutters so each piece is six to eight inches. Shorter pieces are easier to place and less likely to flop. Save the trimmings — they fill small gaps at the end.
Step 3. Lay Out Your Design Before You Glue
Credit: @cottage_on_bunker_hill
Pros never glue first and hope. Lay your base flat and arrange the big pieces loosely on top — no glue yet. Move things around until the shape pleases you.
Decide on a focal point. Most wreaths look best with interest clustered at the bottom or lower-left, like a crescent. A centred, all-the-way-around design works too, but it needs more stems to look full.
Take a quick phone photo of your layout. Once you start gluing, you will forget where everything sat. The photo is your map.
Place your three biggest pieces first in a triangle. Everything else just fills the spaces between them. This trick alone fixes most lopsided wreaths.
Step 4. Anchor the Greenery First
Credit: @wreathsbywaldo
Now the real build starts. Push your greenery stems into the grapevine, angling them all in the same clockwise direction. The vines grip the stems, so many pieces need no glue at all.
Work all the way around the circle before adding colour. This green foundation is what makes the wreath look lush instead of sparse. If you can still see lots of bare vine, add more greenery — this layer does the heavy lifting.
Keep stems pointing outward and slightly upward, like a sunburst. Stems poked straight in look flat. Angled stems catch light and create depth.
Step 5. Layer In Bold Fall Colour
Credit: @jennyswreathboutique
With greenery in place, add your fall colour layer — maple leaves, orange blooms, rust-toned grasses. Tuck these slightly deeper than the greenery so the green frames them.
Cluster colour in groups of three rather than scattering single stems. Three red leaves together read as a bold pop. One red leaf alone reads as a mistake.
Follow your photo map from Step 3, but do not be a slave to it. If a stem wants to sit somewhere else and it looks good, let it. Glue the pieces that feel loose — a dab at the stem base is enough. Need more colour combos? These fall wreath ideas for front doors show palettes worth copying.
Step 6. Tuck In Texture: Pinecones, Berries and Mini Pumpkins
Credit: @gillaleighhome.designs
Texture is what separates a nice wreath from a wow wreath. Pinecones, berry clusters and mini pumpkins add the bumps and shine that catch the eye.
Place the heaviest pieces first — pumpkins and large pinecones — near your focal cluster. Glue these well; they are the pieces most likely to fall off. A generous dab of hot glue plus a few seconds of holding does it.
Then tuck berry sprays into the gaps. Berries are your gap-fillers. Any spot that looks thin gets a berry spray, and suddenly it looks intentional.
Use three textures max. Pinecones + berries + pumpkins is plenty. Five textures looks busy; two looks plain. Three is the designer sweet spot.
Step 7. Tie a Bow That Looks Pro
Credit: @thepomwreathcompany
A bow is optional, but it finishes the wreath like a frame finishes a picture. The trick is wired ribbon — it holds its shape, while regular ribbon flops.
Make two loops like bunny ears, pinch the centre, and wrap the pinch with a short piece of wire. Fluff the loops outward and cut the tails in a V shape. That is the whole technique.
Attach the bow at your focal point with the wire ends twisted into the grapevine. If bows stress you out, skip it — a wreath without a bow still looks complete.
Step 8. Fluff, Hang and Step Back
Credit: @shady_pines3interiors
Before you hang it, do the shake test. Hold the wreath and give it a gentle shake. Anything that rattles gets another dab of glue. Better to find out now than on a windy night.
Fluff every stem one last time, bending leaves toward the viewer. Then hang it and walk to the kerb — or at least six feet back. Small tweaks from a distance make the biggest difference.
Need a damage-free way to hang it? See how to hang your wreath without nails so your door stays perfect.
☐ Base chosen & fluffed ☐ Picks sorted & trimmed
☐ Greenery anchored ☐ Colour layered in threes
☐ Texture tucked in ☐ Bow tied (or skipped!)
☐ Shake test passed ☐ Hung and admired
Conclusion
You just made a fall wreath in about twenty minutes. It cost less than store-bought, looks fuller than store-bought, and you can say you made it yourself.
The layering order — greenery, colour, texture — works for every wreath you will ever make. Swap the fall picks for winter greens in December and the same steps give you a Christmas wreath.
Browse more fall wreath ideas for your front door for your next project, and enjoy the compliments.
FAQs
What is the easiest wreath base for a beginner?
A grapevine base. The twisted vines grip stems on their own, hide glue and wire, and look good even before you decorate. Wire frames need more coverage and foam rings need full wrapping, so save those for later.
How much does it cost to make a fall wreath?
About twenty-five to forty dollars. A grapevine base runs eight to twelve dollars, and five to seven picks cost the rest. Watch for buy-one-get-one sales on fall florals in September to cut that nearly in half.
Can I make a wreath without a hot glue gun?
Yes. Push stems directly into a grapevine base — the vines hold most pieces. For heavy items like pumpkins, twist floral wire around the stem and the base instead of gluing. No glue gun needed at all.
How do I stop my wreath from looking flat?
Layer in this order: greenery first, colour second, texture last. Angle stems outward instead of poking them straight in, group colour in threes, and fluff every stem before placing it. Then check it from six feet away.
Will my DIY wreath survive outside?
On a covered porch, yes — it will last the whole season. In direct rain, faux picks can fade and glue can loosen, so hang it under cover if you can. When you hang it, pick a method that will not mark up your door — here is how to hang a wreath without nails or damage. Bring it inside during heavy storms and it will look fresh for years.