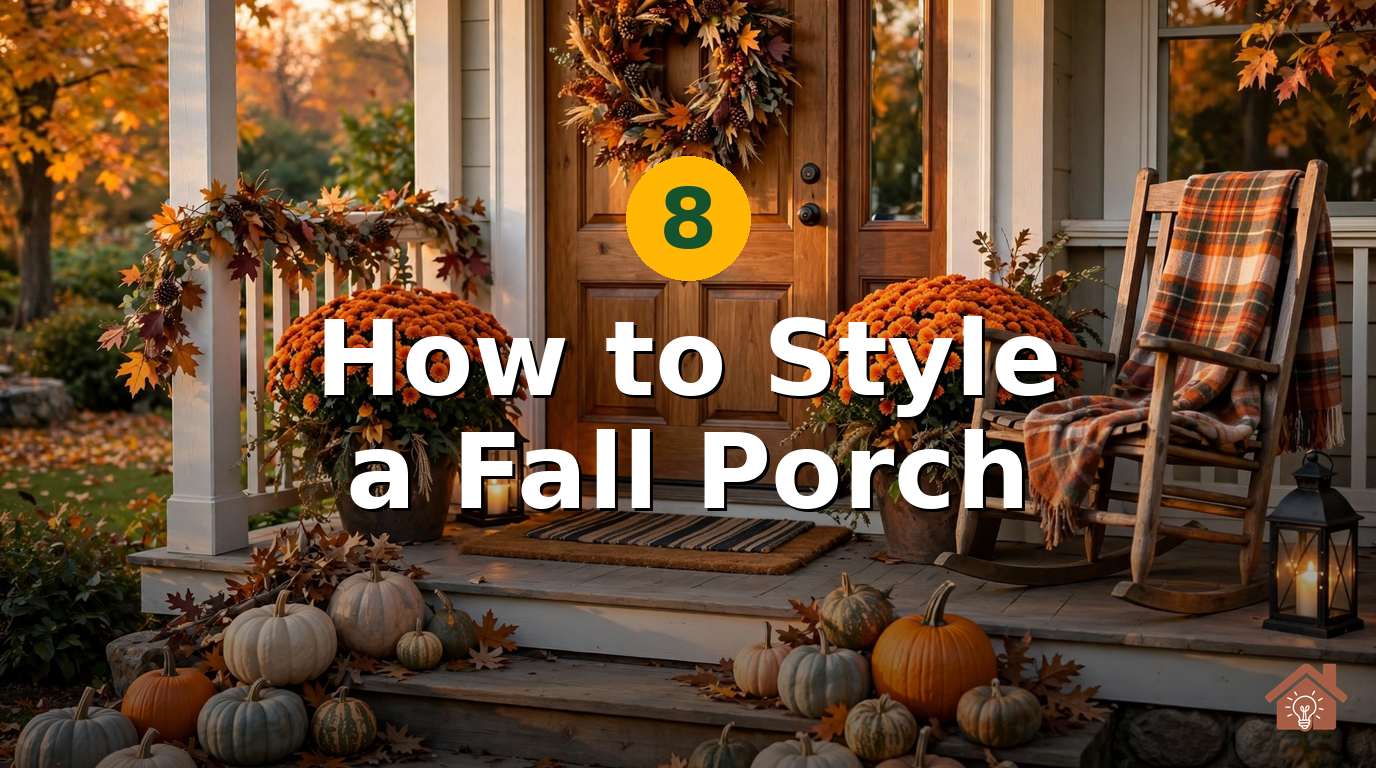
Designer porches are not about spending more. They are about placing the right things in the right order, and knowing when to stop.
Most porches fail for one simple reason: everything sits at the same height. Pumpkins lined up in a row on flat ground look like a grocery display, not a styled entry.
The fix is a method, not a shopping list. Designers work in layers — ground, middle, tall — and repeat a short list of colours so the whole porch reads as one composition.
Follow these eight steps in order and your porch will look styled by a pro by this weekend, whatever your budget.
Designer secret: style in three heights — ground, waist, overhead — and repeat 2–3 colours across every layer.
✓ Group pumpkins in odd numbers (3, 5, 7) — even groups look staged and stiff.
✓ Layer a rug under your doormat and flank the door symmetrically, then break symmetry with pumpkin clusters.
✓ Add light last — one pair of lanterns with LED candles makes the whole porch glow after dark.
Table of Contents
- Step 1. Clear and Clean the Porch
- Step 2. Anchor the Entry with a Layered Doormat
- Step 3. Build Height with Layered Planters
- Step 4. Cluster Pumpkins in Odd Numbers
- Step 5. Add Lantern Light for Evenings
- Step 6. Soften It with Textiles
- Step 7. Dress the Door with a Wreath
- Step 8. Step Back and Finish Like a Designer
- Conclusion
- FAQs
Step 1. Clear and Clean the Porch
Credit: @poppypatioco
Every designer starts with a blank canvas. Haul off the dead summer plants, sweep the steps and porch floor, and wipe down the door and railings.
A clean porch makes even simple decor look intentional. Dust and dead leaves are the fastest way to make new pumpkins look tired before you even start.
Take a “before” photo from the street. You will want it later — and it helps you see the porch the way guests see it, not the way you see it every day.
Step 2. Anchor the Entry with a Layered Doormat
Credit: @bestofshaneise
The doormat is the anchor of the whole composition. Designers almost always layer: a larger flat rug underneath, a smaller coir or patterned mat on top.
The bottom layer should be bigger than the door is wide — it grounds the entry and catches dirt. The top mat carries the seasonal message. A layered entry is the foundation of every great fall front door design.
Pick one pattern and one solid. A buffalo-check rug under a simple “hello pumpkin” mat looks collected; two busy patterns fight each other.
Step 3. Build Height with Layered Planters
Credit: @alisonhavens_
Flank the door with two matching planters — symmetry here makes everything else feel deliberate. Fill them with mums, ornamental kale, or dried grasses for instant height.
Triangle composition: arrange each side of the door as a triangle — tall planter at the back, medium mums in the middle, low pumpkins at the front. The eye climbs the triangle and the entry feels grand, even on a small porch.
Rebuild tired summer planters instead of buying new ones. Pull the dead fern, keep the pot, and refill with corn stalks, pampas grass and kale — it costs a fraction of new containers.
Step 4. Cluster Pumpkins in Odd Numbers
Credit: @hattiekolp
Now the fun part. Gather pumpkins in three sizes — large, medium, mini — and cluster them in odd numbers: 3, 5 or 7 per group.
The rule of three: odd numbers feel natural because nature rarely grows in pairs. Place the biggest pumpkin first, then tuck medium and mini ones around it at slightly different depths. Step back after every three — balance, not symmetry, is the goal.
Mix real and faux. Put real pumpkins where people look closest and faux ones behind or stacked on crates — you get the authentic texture up front and the arrangement lasts to Thanksgiving.
For more door-area inspiration, browse these fall front door decor ideas to see how pumpkin clusters frame an entry.
Step 5. Add Lantern Light for Evenings
Credit: @cinnamon.hollow
A porch styled only for daylight is half finished. Two lanterns with LED pillar candles — one per side of the door, or grouped on the steps — make the whole display glow after dark.
Warm white beats cool white every time. Cool light turns pumpkins grey; warm light makes them glow amber like they are lit from inside.
- Flameless candles with timers — set and forget, no fire risk near dried corn stalks.
- Solar lanterns — charge by day, glow by night, no outlets needed.
- String lights — wrap one strand through garland or railings for a soft halo.
Step 6. Soften It with Textiles
View this post on Instagram@simple_and_lovely
Credit: @simple_and_lovely
This is the step most people skip — and it is what separates “decorated” from “designed.” One chunky throw over a chair or bench and a plaid pillow instantly add the lived-in warmth designers are known for.
Stick to outdoor-rated fabrics or bring textiles inside when rain threatens. A damp wool throw goes musty fast; a quick shake and a dry storage bin solve it.
Repeat your colour story here. If your mums are burgundy and your pumpkins are cream, choose a throw with both — it ties the seating into the planters without matching too perfectly. A fall wreath on the door in the same tones pulls the whole look together.
Step 7. Dress the Door with a Wreath
Credit: @johnnyshomedesigns
The wreath is the jewellery of the porch — it draws the eye up and finishes the door. Size it generously: a wreath should fill about two-thirds of the door’s width, never look lost in the middle.
Echo your porch palette in the wreath. Burgundy mums in the planters? Choose a wreath with burgundy leaves or berries so the door talks to the steps.
Short on time or craft skills? These fall wreaths for your front door include plenty of ready-to-hang options, and if you want to DIY one this weekend, here is how to make a fall wreath in about 20 minutes.
Step 8. Step Back and Finish Like a Designer
Credit: @melissagisoni
Walk to the street and look back. Designers edit from the curb, not from the door — you will instantly spot the bare corner or the cluster that needs one more pumpkin.
- ✓ Three heights present: ground (mats, pumpkins), waist (planters), overhead (wreath, lights)
- ✓ 2–3 colours repeated across layers
- ✓ Pumpkins in odd-numbered clusters
- ✓ Light source for after dark
- ✓ One soft textile for warmth
- ✓ Walkway clear — guests should never squeeze past decor
| Porch element | Budget move | Splurge move |
|---|---|---|
| Planters | Refill existing pots with mums | Matching urn pair |
| Pumpkins | Farm stand mixed bag | Heirloom + faux keepsakes |
| Lighting | Solar lanterns | Wired sconces + timers |
| Textiles | Thrifted plaid throw | Outdoor-rated wool set |
| Wreath | DIY grapevine + picks | Designer preserved wreath |
Remove one thing before you call it done. Designers swear by this — the porch always looks better after the last edit.
Conclusion
Styling a fall porch like a designer comes down to order and restraint: clean first, anchor with a layered mat, build height with planters, cluster pumpkins in odd numbers, add light, soften with textiles, crown the door with a wreath — then edit from the curb.
You do not need a big budget or a big porch. Two colours repeated, three heights, and one warm light will outperform a truckload of random decor every time.
Start this weekend with what you have, add one layer at a time, and take that after photo from the street. Your entry will do the welcoming for you all season long.
FAQs
How do you style a fall porch if it is very small?
Think vertical, not horizontal. One tall planter, a wreath (which takes zero floor space), a layered mat, and three pumpkins stacked on a crate give you all three heights in two square feet. Keep the palette tight — two colours max — so it reads as styled, not crowded.
What is a realistic budget for a designer-looking fall porch?
You can do it for under $75: a bag of mixed pumpkins from a farm stand, two mums, one coir mat over a rug you own, and solar lanterns. The designer look comes from placement — odd clusters, three heights, repeated colours — not price tags.
How do I keep my fall porch decor from blowing away?
Weight is everything. Fill the bottom of planters with sand or bricks before adding soil, choose heavier ceramic or concrete pots for windy spots, and use museum putty under small pumpkins on railings. Take textiles and lightweight wreaths inside during storms.
Real or faux pumpkins — which do designers prefer?
Both, mixed. Real pumpkins up front where guests see the texture; faux behind, stacked, or anywhere they need to last to Thanksgiving. Spray faux pumpkins with a matte sealer and nobody will know the difference from three feet away.
How do I make my porch look good at night too?
Add light last, but plan for it from the start. Two lanterns with warm-white LED candles on timers, or one strand of warm string lights woven through railing garland, will make the whole composition glow. Check it after dark once — uneven light is the most common miss.