Your fall porch looks great. The mums are full, the pumpkins are stacked, and the wreath is perfect. But Halloween is days away, and the thought of tearing it all down to start over feels exhausting.
Here is the good news. You do not need to start over. Your pumpkins, mums, garland, and lanterns already do half the Halloween job for you.
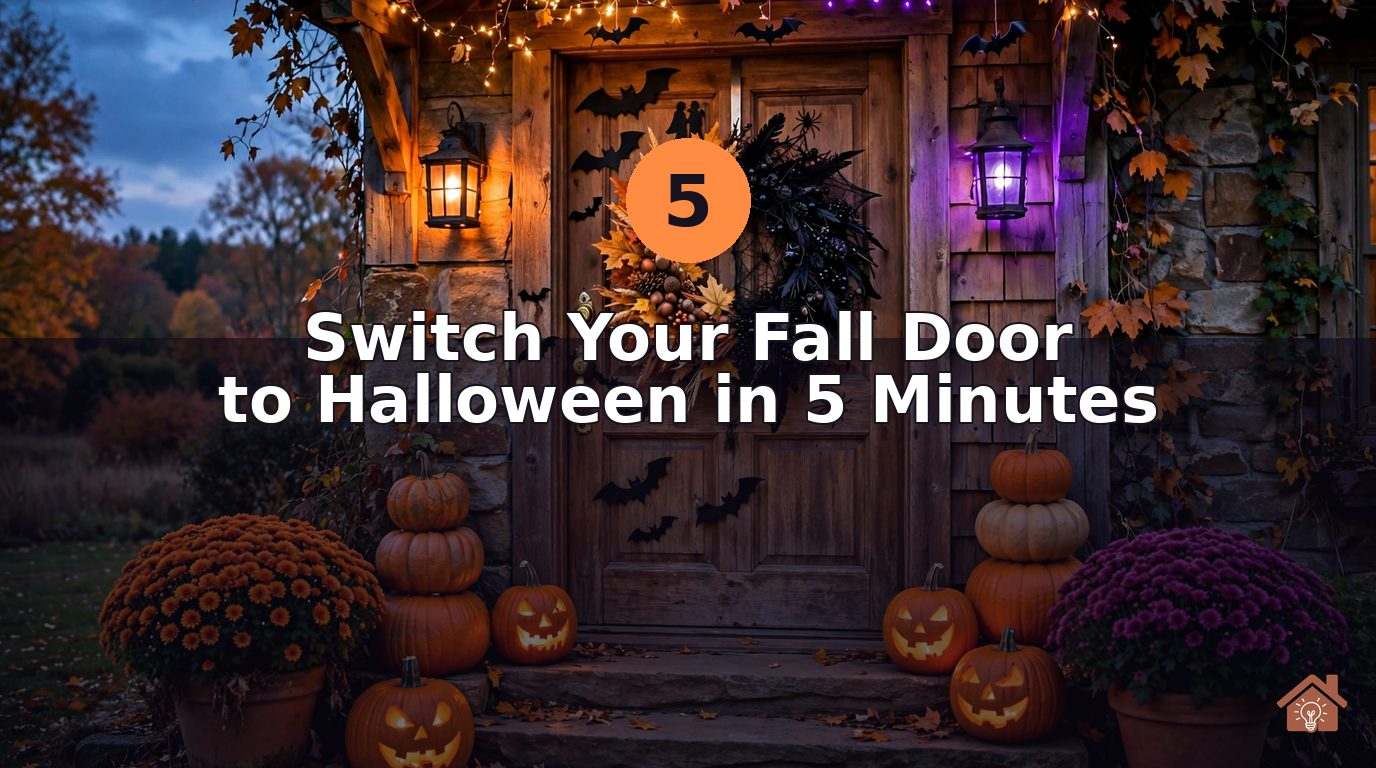
With five quick swaps — about one minute each — your cozy fall door turns spooky. Nothing gets thrown away. Almost nothing new needs buying.
This is the exact 5-minute plan, in order. Set a timer on your phone and follow along. By the end, your door will be ready for trick-or-treaters.
The trick: keep your fall base, swap only the accents. Five one-minute changes turn cozy into spooky.
✓ Keep: pumpkins, mums, garland base, lanterns, and your wreath form.
✓ Swap: wreath picks, clip-on bats and ghosts, the top doormat, the light bulbs, and two or three pumpkins.
✓ Total time: 5 minutes. Total cost: close to zero if you own the basics.
Table of Contents
Step 1. Swap the Wreath Accents (Minute 1)
Credit: @erikad.aestheticlifestyle
Do not take the wreath down. The wreath form, the grapevine base, the greenery — all of that stays. You are only swapping the little extras poked into it.
Pull out the fall picks: the wheat stems, the mini sunflowers, the “hello fall” sign. Drop them straight into a grocery bag so you can put them back in November. This takes about thirty seconds.
Now push in the spooky picks: black glitter branches, a couple of mini skulls, purple and orange berry sprays, and three or four small bats on wire. Floral picks from the dollar store work fine — nothing here needs to be fancy, because dim porch light hides everything.
- Keep the bow if it is black, plum, or burlap. Swap it only if it screams Thanksgiving (looking at you, turkey-print ribbon).
- Work from the top down so falling bits land on picks you have not placed yet.
- Step back to the curb. If the wreath reads “spooky” from the sidewalk, you are done.
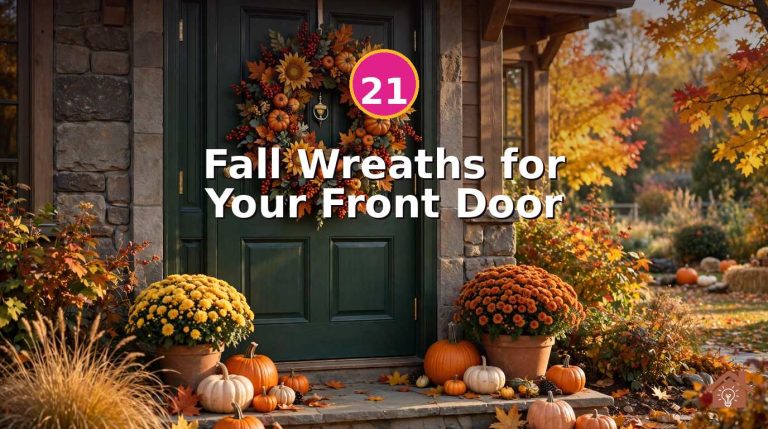
If your wreath was already Halloween-leaning, you might skip this step entirely. Check out these fall wreaths for your front door if you need a refresher on which bases transition best.
Wreath still hanging? Spooky picks in? Fall picks bagged? Move on.
Step 2. Clip Bats and Ghosts Onto the Garland (Minute 2)
Credit: @balsamhill
Your fall garland — the one framing the door with leaves, berries, and pinecones — is the perfect Halloween base. It already has the fullness. It just needs a few uninvited guests.
Clip on a dozen small black bats. The flat felt or plastic ones with wire wings cost almost nothing, and they cling to garland branches without any tools. Scatter them like they are flying upward, denser near the top of the door frame.
Next, hang two or three little ghosts. The lit ones from the dollar store are ideal: they glow at night and weigh almost nothing, so they will not drag your garland down. Tuck one ghost near the doorbell where visitors will see it up close.
If you have faux spider webbing, stretch a thin layer across one corner of the garland — just one corner. A little webbing says Halloween. A lot of webbing says you gave up.
Step 3. Flip the Doormat Layer (Minute 3)
Credit: @mymoodymanor
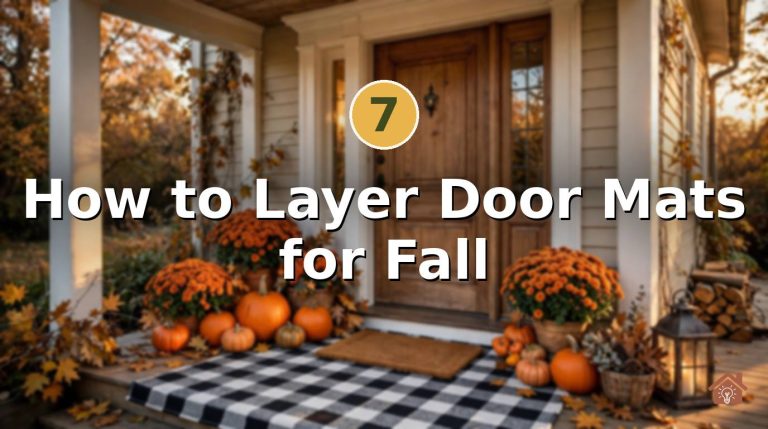
The layered doormat look is everywhere this fall: a big patterned rug underneath, a smaller coir mat on top. For the Halloween switch, you only touch the top layer.
Leave the larger base rug exactly where it is — buffalo check, stripes, or plain jute all work fine under a Halloween mat. Lift off the fall coir mat (“Hello Fall,” “Gather,” pumpkins) and lean it against the wall inside your entryway. It goes right back after Halloween.
Drop on the Halloween mat. Funny ones get the most compliments from trick-or-treaters: “Hey Boo,” “Witch Please,” or a simple skull print. A plain black coir mat works too if you prefer scary over silly.
- No Halloween mat? Flip your fall mat face-down if the back is plain coir, and lay a $3 Halloween hand towel across the front edge. It reads as a mat swap from the sidewalk.
- Keep the layers straight. The top mat should sit centred with an even border of the base rug showing on all sides.
Step 4. Switch the Lighting to Spooky (Minute 4)
Credit: @thefunnymomma
Lighting is the fastest mood-changer you own. Warm white porch light says “welcome.” Orange or purple light says “enter if you dare.” And it takes less than a minute.
Swap your porch bulb for an orange or purple LED. Keep the old bulb in the same grocery bag as your fall picks so the whole reverse-swap stays in one place. If your fixture takes two bulbs, change just one — the mixed glow looks eerier than full colour.
Then add one flicker source at ground level: a battery candle inside a lantern, a string of orange fairy lights woven through your pumpkin stack, or a cheap purple uplight aimed at the door. One source is enough. Two is plenty. Three starts to look like a haunted house queue.
Keep it dim. Halloween lighting should make visitors squint a little. Bright spooky is just… bright.
Step 5. Trade Pumpkins for Jack-o’-Lanterns (Minute 5)
Credit: @makingfrugalfun
Your pumpkin stack stays. The arrangement, the colours, the heights — all of it. You are only giving two or three pumpkins a face.
The laziest method: peel-and-stick vinyl faces. Black triangles and jagged grins, pressed onto your existing pumpkins in seconds. They peel right off after Halloween with no damage, which renters love — see these renter-friendly Halloween ideas for more no-damage tricks.
No vinyl faces? Carve just one real pumpkin and set a battery tea light inside it. Place it at the front of your existing stack so it becomes the focal point. The uncarved pumpkins around it make the one glowing face look intentional and artful instead of last-minute.
Faux pumpkins carve beautifully too — and one step further, a drilled faux pumpkin with a light inside lasts for years. Keep the carved one closest to the door where the light spills onto your new Halloween mat.
Keep vs. Swap: What Stays and What Goes
Credit: @mcgeeandco
If you are ever unsure whether something should stay or go, use this rule: natural stays, novelty swaps. Anything nature made — pumpkins, mums, branches, pinecones — works for both seasons. Anything with words or faces gets swapped.
| Item | Keep for Halloween | Swap it out |
|---|---|---|
| Wreath | The base and greenery | Fall picks and signs |
| Garland | The whole garland | Nothing — just add bats |
| Doormat | The base rug layer | The top coir mat |
| Porch light | The fixture itself | The bulb colour |
| Pumpkins | The whole stack | Two or three get faces |
| Mums & planters | Everything | Nothing |
Bag everything you remove together — fall picks, the old bulb, the fall mat. Label the bag “fall” with a marker. On November 1st, you reverse the whole process in five minutes and your porch is Thanksgiving-ready. That is the real payoff of this method: you only ever decorate once.
For the full autumn starting point, revisit these fall front door decor ideas — and when you are ready to take the spooky look to your glass too, these Halloween window silhouettes pair perfectly with a Halloween porch.
Conclusion
Five minutes, five swaps, zero redecorating. Your fall base does the heavy lifting, and a handful of spooky accents does the rest. Bag the fall pieces together, and the reverse trip on November 1st takes five minutes too.
The best seasonal decorating is layered decorating: one strong foundation, with small seasonal layers on top. Master that, and every holiday gets easier from here.
FAQs
Will the clip-on bats and ghosts damage my garland?
No. Felt bats, plastic picks, and lightweight lit ghosts simply wedge between branches. They pull out cleanly with no marks, which is why this method is renter-safe.
What if it rains on Halloween night?
Paper and felt accents will not survive a downpour. If rain is forecast, keep the swap to waterproof pieces only: plastic picks, vinyl faces, and the bulb change. Save the felt bats for a dry year.
Can I switch everything back after Halloween?
Yes — that is the whole point. Because you bagged the fall picks, the old bulb, and the fall mat together, reversing the five steps takes about five minutes. Your porch then carries straight through to Thanksgiving.
I rent. Is any of this against typical lease rules?
Nothing here uses nails, screws, or adhesive on the building. Over-door hooks, clip-on decor, and mat swaps are all deposit-safe. For more landlord-proof ideas, see these renter-friendly Halloween ideas.
Do I need to buy all new Halloween decor?
Probably not. Most people already own a Halloween mat, a few picks, and an orange bulb from previous years. The only thing worth buying if you lack it is a set of peel-and-stick pumpkin faces — they cost a few dollars and work on real or faux pumpkins.