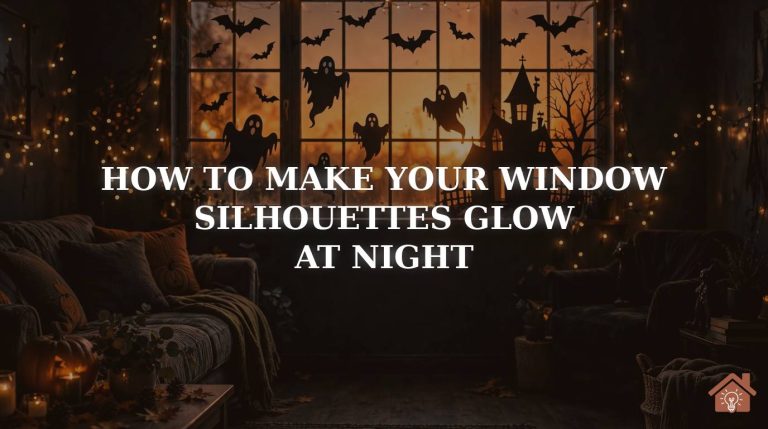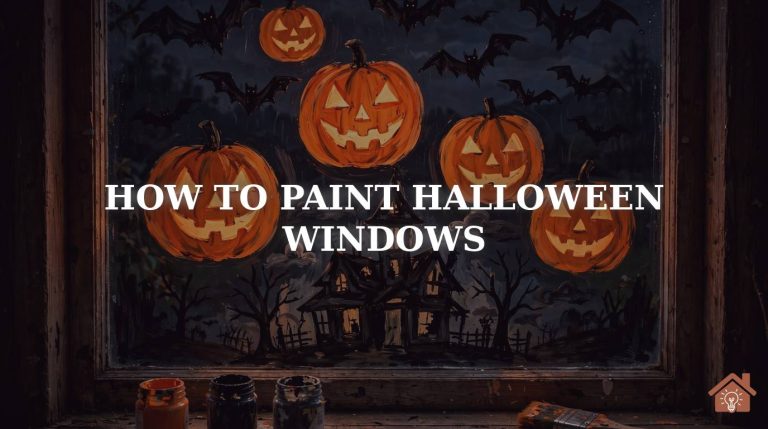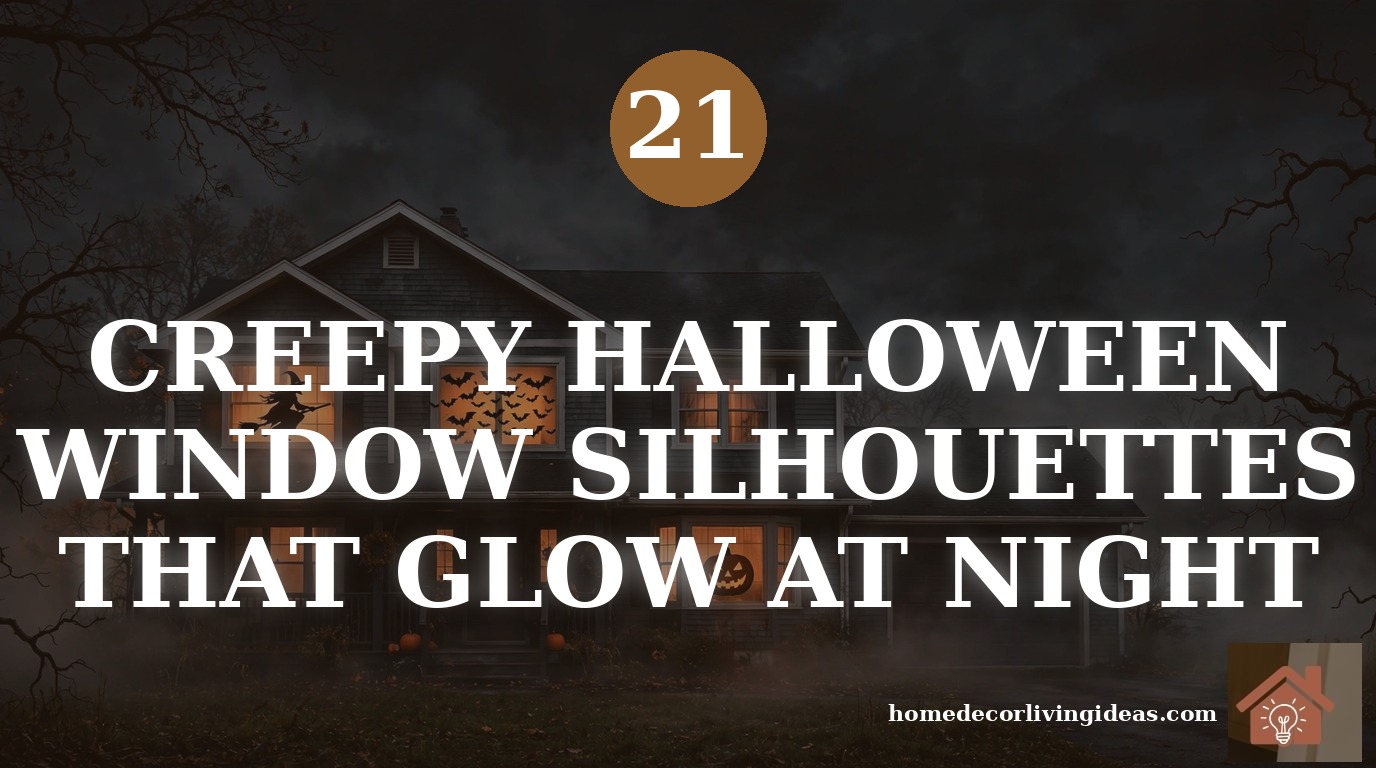
21 Creepy Halloween Window Silhouettes That Glow at Night
Your house looks perfectly normal by day. But when the sun goes down on Halloween night, your windows could be telling a completely different story — one with witches racing across the moon, ghosts drifting past the glass, and graveyards rising from your window sills.
The problem? Most Halloween window decorations look flat, faded, or just plain sad after dark. Store-bought clings curl at the edges, thin paper cutouts disappear into the black night, and without the right backlighting, all that effort is invisible from the street.
That is where Halloween window silhouettes change everything. These bold black shapes, taped to the inside of your glass and backlit from within your home, turn every window into a glowing scene straight out of a haunted storybook. They cost almost nothing to make, they are fully renter-friendly, and they photograph beautifully.
Below you will find 21 creepy Halloween window silhouette ideas that truly glow at night — from a witch racing the moon to a headless horseman riding past your glass — plus the exact materials and lighting tricks that make each one pop.
- 21 ideas ranging from 10-minute beginner cuts (bats, ghosts) to full show-stopping window scenes.
- Best overall: #13 Full Harvest Moon Scene — the highest-contrast, most Pinterest-photogenic setup on this list.
- Cheapest to make: trash-bag bats (#4) and Dollar Tree cutouts (#15) cost almost nothing.
- 100% renter-friendly: everything mounts on the inside of the glass with removable tape or static clings.
- The glow secret: thick black cardstock + a light source placed directly behind the window, not overhead room light.
Table of Contents
- 1. Witch on a Broomstick Racing the Moon
- 2. Haunted House With Lit-Up Windows
- 3. Arched-Back Black Cat With Piercing Eyes
- 4. Swarm of Bats Taking Flight
- 5. Floating Sheet Ghost
- 6. Twisted Dead Tree With Gnarled Branches
- 7. Giant Spider Dropping on Its Thread
- 8. Dancing Skeleton Duo
- 9. Giant Jack-o’-Lantern Grin
- 10. Raven Perched on a Bare Branch
- 11. Wide-Eyed Owl in the Dark
- 12. Vampire Guarding With a Candelabra
- 13. Full Harvest Moon Scene
- 14. Creepy Graveyard Row
- 15. Zombie Hands Clawing Up the Glass
- 16. Giant Skull Staring Out
- 17. Corner Spider Web With Dewdrop Lights
- 18. Frankenstein’s Monster Face
- 19. Lurking Mummy in the Shadows
- 20. Witch’s Bubbling Cauldron
- 21. Headless Horseman Riding Past
- Conclusion
- FAQs
1. Witch on a Broomstick Racing the Moon
Credit: @craftyfun_com on Instagram
The all-time classic Halloween window silhouette: a pointed-hat witch caught mid-flight on her broomstick, ideally racing across a big round moon. The long diagonal line of the broom reads instantly from the street, even at a distance, and backlighting turns her into a crisp black streak against the glow. Cut her from thick black cardstock so no light bleeds through the body, and add a circle of orange tissue paper behind her for the moon. Position her high on the glass, tilted as if swooping down — a level witch looks parked, but a tilted one looks alive.
A plain witch silhouette is good. A witch crossing the moon is unforgettable. The bright circle behind her creates the highest possible contrast, so even a roughly-cut witch looks razor-sharp. No moon? A $2 orange paper lantern behind the window works just as well.
2. Haunted House With Lit-Up Windows
Credit: @heyitserintay on Instagram
A crooked mansion silhouette with gables, chimneys, and dead trees around it is pure Halloween theatre. The real magic happens when you cut tiny rectangles out for the house’s windows so warm light shines through them like occupied rooms. That contrast — a pitch-black house with glowing windows — is what makes it eerie instead of flat. This one pairs beautifully with dark cottagecore bedroom ideas if you love the moody, vintage-gothic look indoors too. Keep the house large and centered; small haunted houses get lost on big panes.
- Thick black poster board (not printer paper)
- Craft knife for the tiny window cutouts
- Orange tissue paper behind the whole scene
- Warm lamp placed directly behind the window
- Painter’s tape — inside of glass only
3. Arched-Back Black Cat With Piercing Eyes
Credit: @sierralmiller on Instagram
A hissing cat with a puffed tail and arched spine is one of the easiest silhouettes to cut — and one of the scariest after dark. The secret is cutting two almond-shaped eye holes so the backlight blazes through them. Glowing eyes in a dark window are disproportionately creepy for how little effort they take. Curl the tail high for extra drama, and perch the cat on a simple fence line so it looks like it is guarding your home. This is a great first project if you have never cut silhouettes before.
A) Sitting calmly, tail curled B) Arched back, puffed tail C) Lying down asleep
Answer: B! The arched, puffed-up pose signals a threatened cat — our brains read it as danger instantly, which is exactly the reaction you want from trick-or-treaters.
4. Swarm of Bats Taking Flight
Credit: @shwetascraftland on Instagram
A dozen or more small bat silhouettes in varied sizes, scattered as if bursting across the pane, create a sense of motion that one big shape never can. At night the flock looks alive against the lit glass. This is the ultimate beginner project:
- Bats are just curved wing shapes — no artistic skill needed
- Cut them from a black trash bag for a nearly free decoration
- Vary the sizes from tiny to large for realistic depth
- Angle them in different directions, all “flying” one way
- Cluster them bursting from one corner for maximum drama
A single black trash bag yields 20+ bats and costs pennies. Draw one bat template on cardboard, trace it repeatedly, and cut with the bag doubled up to halve your cutting time. Tape them to the inside of the glass with small loops of painter’s tape.
5. Floating Sheet Ghost
Credit: @alysssacevedo on Instagram
The classic billowing ghost with wavy bottom edges and simple oval eyes is spooky but kid-friendly — perfect for family homes. Its soft, rounded form glows beautifully because light diffuses around the curves instead of fighting them. Layer three or four ghosts at different heights and sizes to make it look like they are drifting past your window. Keep the eyes simple ovals; fussy faces blur at street distance. White or pale-gray paper works here instead of black — the ghost itself becomes the glowing shape.
For ghosts, skip the black cardstock — use white vellum or tracing paper. It diffuses backlight into a soft, eerie glow instead of a hard silhouette. Pair with a cool-white LED behind the window for a genuinely spectral look.
6. Twisted Dead Tree With Gnarled Branches
Credit: @stepheniewatts on Instagram
Bare, reaching branches spreading across the whole window look like dark veins against the glow — thin branch shapes create gorgeous negative space for light to flood through, so the tree looks etched in black. This is one of the most elegant Halloween window silhouettes because it reads as “art” even to people who dislike gory decor. Let the branches stretch from one bottom corner diagonally across the pane. If you love dressing your windows year-round, our small bedroom window designs guide has more ways to make glass a focal point. Add a perched owl or raven for the full gothic effect.
7. Giant Spider Dropping on Its Thread
Credit: @rachel_meaders on Instagram
An oversized spider suspended from a single silk line in the window’s top corner uses vertical space that most silhouettes ignore — and arachnophobes will cross the street to avoid it. To nail it:
- Make the spider BIG — at least 12 inches across for street visibility
- Use fishing line or black thread for the silk strand
- Hang it from the top corner, slightly off-center
- Cut chunky legs — thin legs disappear at night
- Add a second, smaller spider lower down for depth
One long thread catching the backlight makes the whole thing look suspended mid-drop. Genuinely one of the highest-impact-per-minute ideas on this list.
8. Dancing Skeleton Duo
Credit: @jeffandlaurenshow on Instagram
Two full-body skeletons posed mid-dance, arms flung wide, keep things fun-scary rather than grim — ideal for family homes. The ribcage gaps let pinpricks of light through, so the bones look X-ray lit from behind. You can cut simple skeletons from poster board, or cheat with a mini projector and a shower-curtain liner like the clever setup above. Dancing poses photograph brilliantly because they break the static, flat look most window decor suffers from. Angle the pair toward each other as if mid-twirl for a scene with real storytelling.
9. Giant Jack-o’-Lantern Grin
Credit: @dailyoriginalvids on Instagram
One enormous carved-pumpkin face filling the entire pane — triangle eyes, jagged grin. Because the face is almost entirely negative space, nearly the whole design glows while the black pumpkin outline frames it. Maximum glow impact for minimum cutting effort. Here is how the effort-to-impact math works out:
| Design | Cutting Time | Night Glow |
|---|---|---|
| Giant pumpkin grin | 15 min | ⭐⭐⭐⭐⭐ |
| Detailed haunted house | 2 hours | ⭐⭐⭐⭐ |
| Tiny intricate bats | 45 min | ⭐⭐⭐ |
Go big, keep the shapes bold, and let the light do the work.
10. Raven Perched on a Bare Branch
Credit: @shopterrain on Instagram
A hunched raven with a heavy beak, sitting motionless on a bare branch, is pure gothic atmosphere in a single shape. The bird’s solid black mass against the glowing window creates a stark, haunting focal point — and its stillness contrasts creepily with busier bat or ghost scenes in neighboring windows. This is the connoisseur’s choice: subtle, literary, and deeply unsettling precisely because it does not try too hard. Pair it with the dead-tree silhouette from #6 on an adjacent window and you have a coordinated, gallery-worthy Halloween display.
11. Wide-Eyed Owl in the Dark
Credit: @elizabethruin on Instagram
A round-bodied owl with two huge circular eyes cut clean out becomes two blazing discs of light staring at the street — simple, symmetrical, and one of the most striking single-shape silhouettes after dark. Tips for the best result:
- Make the eye holes LARGE — at least 3 inches across
- Keep the body simple and round; details blur at distance
- Center it on the pane for maximum symmetry impact
- Use warm backlighting for an amber, predatory stare
Kids find owls spooky-but-friendly, so this is another strong pick for family streets.
12. Vampire Guarding With a Candelabra
Credit: @steffy on Instagram
A caped Dracula figure holding a three-arm candelabra, bats circling his head, is full gothic-horror theatre in a single window. The tall cape gives a dramatic vertical silhouette that fills narrow windows beautifully, and cutting the candelabra flames out as tiny holes adds pinpoints of warm glow. This is the most “Halloween party invitation” look on the list — theatrical, elegant, and just menacing enough. It fits perfectly with a dark academia aesthetic if your indoor decor leans moody and vintage too. Keep the cape wide and the collar high; those two shapes sell the vampire instantly.
13. Full Harvest Moon Scene
Credit: @longer.global on Instagram
Our best pick. Build the entire window around one radiant moon — a large orange tissue-paper disc — with layered silhouettes in front: bats, a witch, bare branches. Every dark shape pops harder against the glowing disc, giving you the highest-contrast, most Pinterest-photogenic setup on this list. Layering is the technique that separates amateur windows from stunning ones: place the moon first, then mid-ground branches, then foreground bats. What you need:
| Layer | Material | Role |
|---|---|---|
| Moon | Orange tissue paper circle | The glow source |
| Mid-ground | Black cardstock branches | Depth and framing |
| Foreground | Bats + witch cutouts | The story |
Photograph it straight-on at night and you have a Pinterest pin that practically makes itself.
14. Creepy Graveyard Row
Credit: @snow.graffiti.scott on Instagram
Crooked tombstones marked RIP, a leaning cross, and a skeletal hand bursting upward along the window’s bottom edge mimic a real graveyard sightline. Grounding the scene low on the glass is the key trick — it matches how a real graveyard looks from the street. To get it right:
- Tilt every stone at a slightly different angle — perfect rows look fake
- Vary the heights for a jagged, menacing horizon
- Add “RIP” text on at least two stones for instant readability
- One skeletal hand reaching up sells the whole scene
The uneven stone tops against the glow create one of the most menacing horizons on this list.
15. Zombie Hands Clawing Up the Glass
Credit: @hometalkupstyle on Instagram
Bony hands reaching up from the bottom of the window look like the dead are pressing from outside — trying to get in, or out. Fingers spread wide read clearly even at small sizes, which makes this one of the most legible silhouettes from far down the street. Dollar Tree sells ready-made hand cutouts, or trace your own hand with elongated, knobby fingers for a custom version. This is also proof that a jaw-dropping budget Halloween makeover beats an expensive one — a dollar of black cardstock outperforms a $30 decoration here.
16. Giant Skull Staring Out
Credit: @historichaunt on Instagram
One oversized skull centered in the pane — hollow eye sockets and nose cavity cut clean out. The big dark eye holes become pools of light (or darkness, depending on your backlight), and the symmetry makes it readable from far down the street. Minimal cutting, maximum menace. If you want motion instead of a static cutout, a mini projector with a skull animation, like the setup above, takes the same window from spooky to genuinely startling. Keep the skull large — at least two-thirds of the pane — or it reads as a blob.
17. Corner Spider Web With Dewdrop Lights
Credit: @pippipost.shop on Instagram
A big web spun across one window corner with a small spider at its center becomes pure magic when you weave battery fairy lights through the strands. The lights do the heavy lifting here — the whole web shimmers and glows after dark. How to build it:
- Draw the web with a white chalk marker or cut it from white paper
- Anchor it in one corner — corner webs look 10x more realistic
- Weave warm-white fairy lights through the strands (see our fairy light ideas for indoor inspiration)
- Add one small black spider at the center or edge
Use battery-operated lights so there are no cords to hide — fully renter-friendly.
18. Frankenstein’s Monster Face
Credit: @timschromebar on Instagram
The flat-topped head, heavy brow, and neck bolts are instantly recognizable — and the blocky geometric shapes are very forgiving to cut freehand, making this a great pick if your craft-knife skills are shaky. The bolts and brow shadow give it a stern, glow-lit scowl that trick-or-treaters love. Go green-tinted tissue paper behind the face for the classic monster glow, or keep it black-and-orange for a more traditional look. This is one of the best “big payoff, low skill” options for Halloween beginners.
19. Lurking Mummy in the Shadows
Credit: @chelseafaulkner on Instagram
A wrapped figure half-hidden at the window’s edge, bandage strips suggested with thin cut lines. The “barely there” placement is the whole trick — a half-seen figure in a lit window is creepier than a centered one, because passersby do a double-take. Is someone standing there? Cut the mummy tall and narrow, tuck it against the window frame, and let the backlight catch just its outline. Understated horror beats jump-scares for the neighbors who have to live across the street from your display all October.
20. Witch’s Bubbling Cauldron
Credit: @hometalk on Instagram
A squat black cauldron with wavy steam curls rising and bubble circles floating upward fills vertical space elegantly — perfect for tall, narrow windows. The rising curls are the star here:
- Cut the bubbles out as holes so they glow like fizzing potion
- Make the steam curls tall and wavy for elegant vertical movement
- Keep the cauldron squat and wide at the bottom for stability
- Pair it with the witch-on-broomstick window (#1) next door for a story
Green or purple backlighting sells the “potion” effect better than plain orange.
21. Headless Horseman Riding Past
Credit: @spooky_morgz on Instagram
A cloaked rider on horseback with an empty space where the head should be — optionally holding a glowing pumpkin “head” beside him. The horse’s legs mid-gallop give it motion, and the missing head is a genuine double-take moment under backlight. This is the most theatrical idea on the list and a guaranteed crowd-pleaser on Halloween night itself. Cut the horse large enough to span most of the pane; small horsemen look like hobby horses. End your display with this one and your house becomes the street’s must-see stop.
Conclusion
Your windows are the biggest blank canvas your house gives you every October — and now you have 21 ways to turn them into something unforgettable. Whether you go for the 10-minute trash-bag bats, the show-stopping harvest moon scene, or a full haunted-house panorama, the formula never changes: bold black shapes, thick cardstock, and a light placed directly behind the glass.
Start with one window this weekend and see the reaction from the street. Chances are, you will be cutting silhouettes for every pane by next weekend. For year-round window inspiration beyond spooky season, browse our small bedroom decor ideas — great windows deserve great dressing in every season. Happy haunting!
Frequently Asked Questions
What material is best for Halloween window silhouettes?
Thick black cardstock or black poster board is the DIY standard — regular printer paper lets too much light through and looks washed-out and faded at night. For reusable, renter-friendly options, use removable black vinyl or static-cling window decals, which need no adhesive at all. If you prefer printable designs, look for poster-style templates you can print, trace, and cut.
How do I make window silhouettes actually glow at night?
Stick the silhouettes on the inside of the glass facing out, then place a light source directly behind them — a table lamp right behind the window works far better than general overhead room light. For extra drama, tape orange or yellow tissue paper to the glass first as a glowing backdrop, or add battery-powered fairy lights, LED candles, or orange and purple LED strips behind the scene. Cutting out small details like eyes or house windows lets light shine through as glowing points.
How do I stick silhouettes up without damaging my windows?
Apply everything to the inside of the glass: use window-safe double-sided tape, painter’s tape, or small loops of removable mounting tape, and clean the glass first so they grip properly. Static-cling decals are the gentlest option of all — they stick with just water and peel off with zero residue. A quick pass with a hairdryer loosens any stubborn cling when it is time to take them down.
Will my window silhouettes survive rain and wind?
If they are mounted on the inside of the glass, weather is a complete non-issue — that is the great advantage of window silhouettes over yard decor. For designs that must go on the outside, use weatherproof vinyl, thick cardstock sealed in clear laminate, or waterproof PVC clings, and keep them sheltered from direct rain where possible.
Do window silhouettes look good during the day too?
Yes — by day they read as bold, crisp black graphic shapes against daylight, which still looks intentional and stylish from the street. Use big, bold shapes rather than fiddly small details, since small details blur at distance. Always check the placement in both daylight and at night before finalizing your layout.
Are window silhouettes renter-friendly?
Very. Nothing here needs paint, nails, or drilling — everything mounts on the inside of your own windows with removable tape, static clings, or suction-cup hooks, and battery-operated LEDs mean no wiring changes. When Halloween is over, it all peels off without a trace and your deposit stays intact.