Small windows are the hardest to decorate. A big wreath swallows the whole frame, and a pile of tiny trinkets just looks messy.
The trick is thinking in miniature on purpose. One bold shape beats ten fussy ones when the glass is only a foot wide.
Below are 14 ideas made for dorm windows, bathroom panes, kitchen glass, and those tiny basement hopper windows. Each one works with the small size instead of fighting it.
Most take under 30 minutes and cost almost nothing. Pick two or three and your smallest window will get the biggest reactions.
Golden rule: one bold focal point per tiny window. Small glass looks best with a single hero shape, not a crowd of small ones.
✓ Decorate the corners and sill so the centre of the glass still lets light through.
✓ Scale down classic ideas — mini pumpkins, small bat cutouts, and petite clings fit where full-size decor cannot.
✓ Repeat one colour story (black + orange, or white + purple) so a tiny display still reads as intentional.
Table of Contents
- 1. Use One Big Silhouette Instead of Ten Small Ones
- 2. Dress Just One Corner With a Web
- 3. Line the Sill With Mini Pumpkins
- 4. Turn the Window Into a Spooky Book Nook
- 5. Paint a Mini Mural on a Single Pane
- 6. Cut Bats From a Trash Bag
- 7. Make Puff-Paint Window Clings
- 8. Stick Ghosts on the Kitchen Window
- 9. Frost the Glass With a Stencil Scene
- 10. Shrink Your Clings to Fit
- 11. Build a Thrifted Micro Display
- 12. Light a Tiny Hallway Window
- 13. Theme Every Tiny Window the Same
- 14. Steal Ideas From Miniature Art
- Conclusion
- FAQs
1. Use One Big Silhouette Instead of Ten Small Ones
Credit: @everythingenvy
A tiny window with ten small stickers looks cluttered from the street. One large ghost silhouette, on the other hand, reads clearly even from the sidewalk. Pick a single bold shape — a ghost, a witch hat, a grinning pumpkin — and let it fill most of the pane.
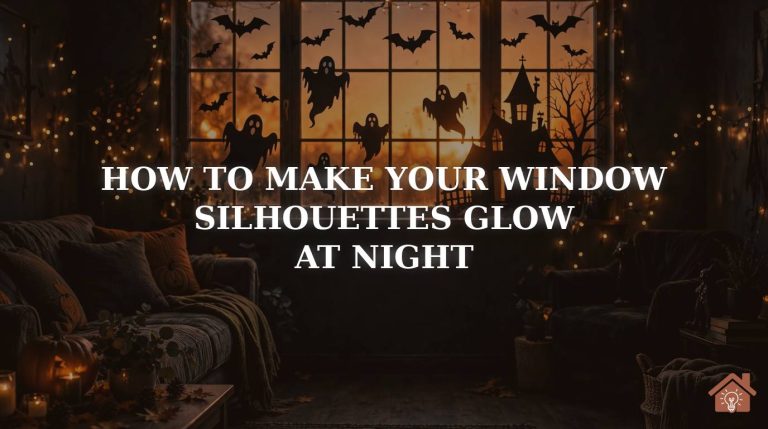
White or black cutouts work best because they pop against daylight. If you love the layered look of our Halloween window silhouettes, just scale the idea down: one hero shape, centred, done.
TRY THIS: Cut your silhouette to fill about two-thirds of the glass. Any bigger and it blocks the light; any smaller and it disappears from outside.
2. Dress Just One Corner With a Web
Credit: @shemwellspaces
You do not need to web the whole window. A single spiderweb tucked into the upper corner gives instant Halloween vibes while leaving the rest of the glass clear. This is perfect for bathroom windows where you still want daylight and privacy.
Use a small corner web cling or stretch a mini web from cotton batting. Add one plastic spider hanging from a thread for the full effect. The whole job takes five minutes and costs next to nothing.
PRO TIP: Put the web in the corner farthest from the window handle, so you never snag it opening the window.
3. Line the Sill With Mini Pumpkins
Credit: @blissful_mom_journey_
A narrow sill is actually a gift — it forces you to keep things simple. Line up three to five mini pumpkins (real or faux) along the sill and you have a finished display. Odd numbers look more natural than even ones.
Mix sizes slightly for charm: one slightly larger pumpkin in the middle, smaller ones flanking it. A string of tiny fairy lights woven between them makes the whole row glow after dark.
BUDGET WIN: Craft stores sell bags of mini pumpkins for a few dollars. One bag dresses three or four small windows.
4. Turn the Window Into a Spooky Book Nook
Credit: @pippipost.shop
Here is a clever one for readers: turn your small window into a spooky book nook. Print black-and-white Halloween templates — potion bottles, skulls, jack-o’-lanterns — and layer them on the glass like little shelves of a haunted library.
Because the art is flat paper, it fits even the shallowest window reveal. Backlight from the room at night turns the whole thing into a glowing storybook scene.
WHY IT WORKS: The window becomes a picture frame. Small glass is perfect for flat art because there is no depth to fight with.
5. Paint a Mini Mural on a Single Pane
Credit: @chalisthroughthelookingglass
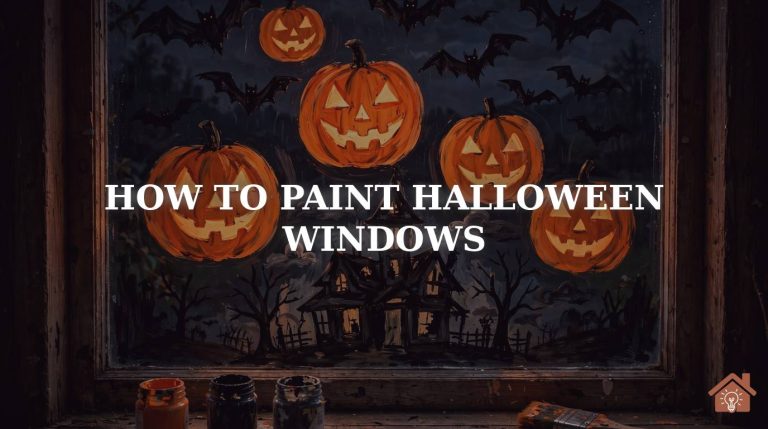
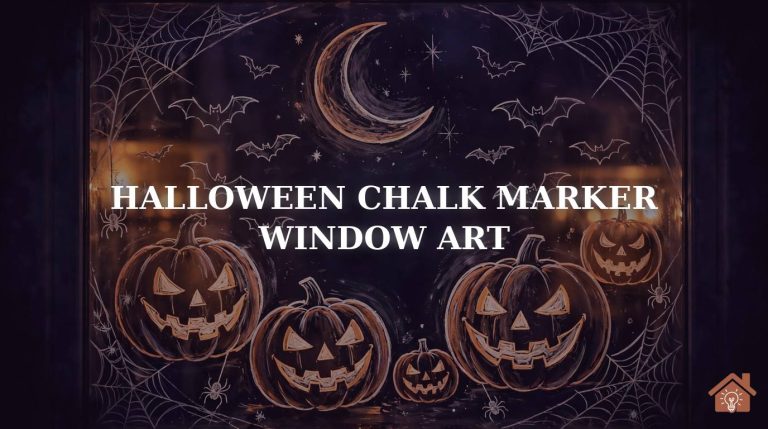
One painted pane is a whole art gallery when the window is small. A black cat in a witch hat, a moon with bats, or a haunted house silhouette — pick one mini scene and paint it with washable window paint or chalk markers.
Keep the design to the lower two-thirds of the glass so daylight still pours in above it. If freehand feels scary, trace a printed outline taped to the outside of the glass. For paint that wipes off clean, see our Halloween window painting ideas.
BEGINNER MOVE: White paint pen first for the outline, then fill with colour. Mistakes wipe off with a damp cloth before the paint dries.
6. Cut Bats From a Trash Bag
Credit: @shwetascraftland
Black trash bags are the ultimate small-window supply. Cut bat shapes in three sizes — small, medium, and one large — and scatter them across the pane as if a swarm is flying out of the corner. The thin plastic clings to glass with just a spritz of water.
- Small bats — fill the edges and corners.
- Medium bats — dot the middle ground.
- One large bat — your focal point, slightly off-centre.
Total cost: basically zero. For more penny-wise projects, browse our Dollar Tree Halloween window ideas.
7. Make Puff-Paint Window Clings
Credit: @rebekahmarsden
Puff-paint clings are made for small windows because you control the size. Squeeze ghosts, pumpkins, and candy corn onto wax paper, let them dry overnight, then peel and stick them to the glass. They are reusable year after year.
Keep each cling between two and four inches wide — that is the sweet spot for petite panes. Kids love making these, and the slightly puffy texture catches the light beautifully.
8. Stick Ghosts on the Kitchen Window
Credit: @youngwildmefamily
The little window above the kitchen sink is prime Halloween real estate that most people ignore. A few translucent ghost clings turn dish duty into something fun. Use glue-based DIY clings or store-bought ones — both survive kitchen humidity.
Place ghosts at different heights so they look like they are floating up the glass. Three is plenty; the sink window is usually the smallest in the house, so restraint wins.
9. Frost the Glass With a Stencil Scene
Credit: @snow.graffiti.scott
Spray frost (the kind for winter windows) makes a stunning Halloween scene on small glass. Hold a bat or haunted-house stencil against the pane, mist the frost around it, and lift the stencil to reveal a crisp white silhouette.
This technique shines on tiny windows because the frosted texture diffuses light — the whole pane glows softly like a lantern. It washes off with glass cleaner in January, or keep it through winter as frost decor.
10. Shrink Your Clings to Fit
Credit: @fortheloveofsmallthings
Standard window clings are designed for big living-room glass and overwhelm a small pane. The fix is simple: buy the mini versions, or cut large clings into smaller motifs. A single pumpkin from a large sheet works perfectly on a bathroom window.
| Window type | Best cling size |
|---|---|
| Bathroom / kitchen pane | 2–3 inches |
| Dorm / bedroom window | 3–5 inches |
| Basement hopper | 1–2 inches |
11. Build a Thrifted Micro Display
Credit: @cara_wengen_co
Thrift stores are treasure chests for tiny-window decor. Small plush ghosts, mini ceramic pumpkins, and petite candle holders are always on the shelves — and they are exactly the right scale for a small sill.
Set a budget of a few dollars and hunt for pieces under six inches tall. Group three finds together with a tea light and you have a styled vignette. If you decorate a small space on a budget, our renter-friendly Halloween window ideas pair perfectly with thrifted finds.
12. Light a Tiny Hallway Window
Credit: @jaglever
Hallway and stairwell windows are often small and forgotten — which makes them perfect for a surprise glow. Tape a black silhouette to the glass and place a battery tea light on the sill behind it. From the hallway, the shape glows like a little haunted lantern.
Because these windows are rarely opened, you can leave the display up all season without it getting in the way. One silhouette plus one light is the whole formula.
13. Theme Every Tiny Window the Same
Credit: @parkspartyplanning
One decorated tiny window is cute. Four tiny windows with the same theme is a showstopper. Pick one motif — bats, ghosts, or spiderwebs — and repeat it on every small window in the room. The repetition makes each window feel like part of a bigger design.
This is the oldest interior-design trick in the book: unity beats variety in small spaces. Cut all your shapes from the same material in one sitting and the whole apartment comes together in an afternoon. Learn the cutting technique in our guide to making Halloween window silhouettes.
14. Steal Ideas From Miniature Art
Credit: @tinyartshow
Miniature artists are the unsung geniuses of small-scale design. This tiny gallery dresses its dollhouse windows with cutouts — a jack-o’-lantern, a black cat, a skull — and the effect is pure Halloween magic at two inches tall.
Borrow their mindset: treat your small window like a diorama, not a billboard. Layer two or three flat cutouts at slightly different depths (one on the glass, one on the sill) and suddenly your bathroom window has a whole spooky scene with real depth.
Conclusion
Tiny windows do not need tiny effort — they need smart scale. One bold silhouette, a dressed corner, or a glowing sill beats a cluttered full-window display every time.
Start with the idea that fits your smallest window, then repeat the colour story across the rest. By Halloween night, even your tiniest pane will pull its weight.
FAQs
How do you decorate a tiny window without blocking the light?
Decorate the edges, not the middle. Put webs in the corners, silhouettes along one side, and pumpkins on the sill. The centre of the glass stays clear so daylight still comes through.
What size decorations work best on small windows?
Aim for one hero piece at about two-thirds the width of the pane, plus two or three small accents. Anything under two inches wide disappears from outside; anything covering the whole pane kills the light.
Can window clings damage small bathroom windows?
No — static-cling and water-based clings peel off cleanly and are safe on bathroom glass. Avoid adhesive stickers on old or frosted glass, where residue is harder to remove.
How do I make a basement hopper window look good for Halloween?
Treat it like a shadow box. Clean the glass, stick a small glowing silhouette inside facing out, and add a mini pumpkin on the ledge. The low position makes it look like a peeking haunted scene.
Should all my small windows match?
They do not have to be identical, but repeating one colour or motif (all bats, or all black-and-orange) ties them together. Matching themes make small windows look intentional rather than random.