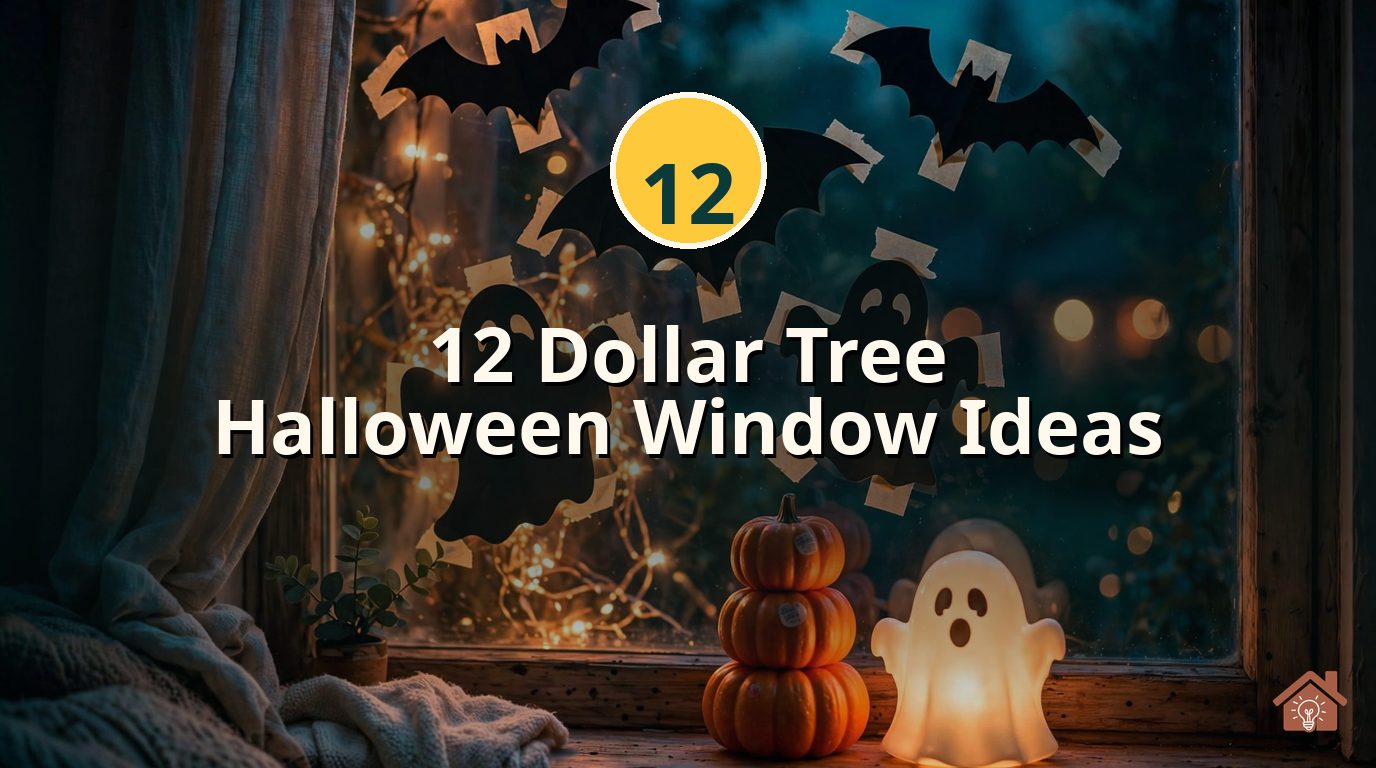
Big windows, tiny budget? Dollar Tree has your back. For less than the cost of one coffee-shop pumpkin latte, you can fill every pane in your house with spooky style.
The secret is not buying more stuff. It is styling smart. A $1.25 pack of window clings looks straight-up rich when you layer it with warm fairy lights and a little height.
These 12 ideas all start with Dollar Tree finds. Most cost under $10 per window, and none of them need real craft skills. If you can use tape and a glue gun, you can do all of this.
Grab your hot glue gun and a string of lights. By tonight, your windows will look like a designer charged you hundreds for them.
Cheapest win: $1.25 peel-and-stick window film or cling packs — instant stained-glass look, zero skill needed, peels off clean in November.
✓ Layer every window: silhouette + lights + one glowing accent on the sill. Three layers is what makes $5 look like $50.
✓ Shop the craft aisle first — black poster board, puffy paint, and fairy lights are the backbone of almost every idea below.
✓ Work from inside the glass so rain never ruins your art, and keep everything removable for easy takedown.
Table of Contents
- 1. Poster-Board Silhouettes That Glow
- 2. $1.25 Peel-and-Stick Stained Glass Film
- 3. The Viral Dollar Tree Stained-Glass Window
- 4. DIY Ghost Window Clings From Glue
- 5. $1 Window Cling Packs, Styled Right
- 6. Foam-Board Window Mural
- 7. Grid-Pane Shadow Scene
- 8. The $3 Fairy-Light Window Frame
- 9. Zero Silhouette Window
- 10. Faux Stained-Glass Window Art
- 11. Pottery Barn Lit-Ghost Dupe
- 12. Hanging Stained-Glass Raven Frame
- Conclusion
- FAQs
1. Poster-Board Silhouettes That Glow
View this post on Instagram
Credit: @hometalkupstyle
This is the single biggest bang for your buck on this whole list. Black poster board from Dollar Tree, a marker, and a string of orange lights turn a plain window into a glowing haunted scene. Tape the board inside the glass at night, shine a lamp at it, and trace whatever spooky shape you like — a witch, a cat, bats.
- Cut, don’t draw: cut out the shapes with a utility knife and tape them back on the sill — the light shining through the gaps does all the work.
- Keep shapes big: tiny details disappear from the street. Go bold.
- Orange lights behind: one $1.25 string makes the whole window burn like a jack-o’-lantern.
For more silhouette inspiration, browse these Halloween window silhouettes to pick shapes worth tracing.
Trace at night with the porch light OFF and one lamp ON behind you. Your shadow lands huge on the board — instant giant witch silhouette, zero drawing skill needed.
2. $1.25 Peel-and-Stick Stained Glass Film
View this post on Instagram
Credit: @ashleynicolelife
Dollar Tree sells peel-and-stick window film that mimics real stained glass, and it is the laziest luxury on this list. You cut it to size, mist the glass with water, and smooth it on. Daylight does the rest — your window throws jewel-toned light across the whole room like a chapel.
| What to grab | Price |
|---|---|
| Stained-glass window film (2 rolls) | $2.50 |
| Spray bottle (dollar aisle) | $1.25 |
| Total per window | $3.75 |
Real custom stained-glass film costs $40+ a roll. This is $1.25. From the sidewalk, nobody — NOBODY — can tell the difference.
3. The Viral Dollar Tree Stained-Glass Window
View this post on Instagram
Credit: @dollartreedollie
This one went viral for a reason: it looks like a haunted cathedral window and costs less than a pizza. You paint directly on the glass with washable paints, using black puffy paint for the “lead” lines between colors. Sunlight turns your window into glowing art.
- Sketch first: draw your design on paper — spiderwebs and moons are forgiving shapes.
- Lead lines: trace over it on the glass with black 3D puffy paint and let it dry fully.
- Fill with color: thin washable paint with a drop of dish soap so it spreads like stained glass.
Prefer paint over film? These Halloween window painting ideas have more color combos to steal.
The dish-soap trick is everything: one tiny drop per paint blob keeps colors from streaking and makes January cleanup a 5-minute wipe.
4. DIY Ghost Window Clings From Glue
View this post on Instagram
Credit: @whambamtammy
School glue, sheet protectors, and googly eyes. That is the whole shopping list. You pipe ghost shapes onto a sheet protector with white school glue, press on the eyes while it is wet, and let it dry overnight. Peel them off and they stick to glass with just a mist of water.
Kids go wild for this one, and a whole window of ghosts costs about two dollars. Mix in a few orange-tinted ghosts using a drop of food coloring in the glue for a candy-corn crew.
Pro tip: make them thick — thin glue ghosts tear when you peel them. Two coats, dried between, gives you clings that survive for years.
Total cost for 20 ghosts: about $2.50. A bag of store-bought clings with 6 ghosts: $5. You do the math.
5. $1 Window Cling Packs, Styled Right
View this post on Instagram
Credit: @heartsandhaunts
Do not sleep on the ready-made cling packs. Dollar Tree stocks eight-plus Halloween designs per season — witches, haunted houses, pumpkin patches — at a dollar a sheet. The trick to making them look expensive is restraint: cluster one design per window instead of mixing everything.
| Styling move | Cost |
|---|---|
| 2 cling sheets, one design | $2.00 |
| Dollar Tree fairy lights behind | $1.25 |
| Full designer-look window | $3.25 |
Odd numbers win: group clings in 3s and 5s, low on the glass like they are “walking” across the sill. Even spacing screams dollar store.
6. Foam-Board Window Mural
View this post on Instagram
Credit: @britain_bennett
Foam board is sturdier than poster board, so it is perfect for a full-window mural that has to survive a month. Tape big black sheets right to the inside of the glass, then build your scene on top: a haunted house cutout, a moon, a fence line along the bottom.
- Layer for depth: house in back, fence in front, bats highest — three layers reads as “art,” one layer reads as “craft.”
- Backlight it: a warm lamp behind the board makes every cut edge glow like a movie poster.
- Save the scraps: leftover foam makes next year’s tombstones.
New to cutting silhouettes? This guide to make Halloween window silhouettes walks through the tracing trick step by step.
7. Grid-Pane Shadow Scene
View this post on Instagram
Credit: @hometalk
Got one of those big arched windows with grid panes? You just won Halloween. The grids do the framing work for you — fill each pane with a different black cutout and the window becomes a comic strip of spooky scenes. A cat in one pane, a moon in the next, bats across the top.
Use white poster board behind the black shapes inside each pane and the whole thing pops like backlit art tiles. From the street it looks like custom leaded glass, and the only thing you bought was poster board and tape.
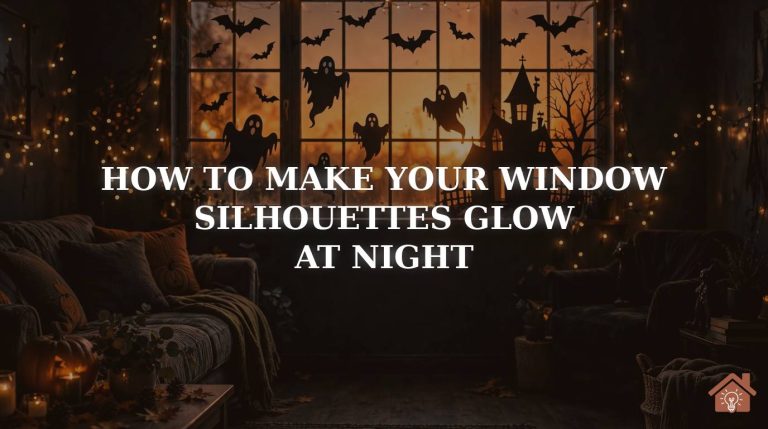
Pro tip: light each pane from the side, not straight on — side light throws soft shadows that make flat cutouts look 3D. Learn how to make your window silhouettes glow for the full lighting playbook.
8. The $3 Fairy-Light Window Frame
View this post on Instagram
Credit: @ariellynnhaywood
Sometimes the cheapest idea is the prettiest. A single string of orange fairy lights, swagged across the top of the window like a garland, turns plain glass into something magical after dark. Add a few plastic bats from the dollar aisle and you are done in ten minutes.
| What to grab | Price |
|---|---|
| Orange fairy lights (battery) | $1.25 |
| Plastic bat pack | $1.25 |
| Total | $2.50 |
9. Zero Silhouette Window
View this post on Instagram
Credit: @sarahjayhome
Character silhouettes are a cheat code — everyone recognizes them, so they instantly look “designed.” This window features Zero, the ghost dog from The Nightmare Before Christmas, cut big from black poster board and backlit at sunset. The whole display cost a few dollars in Dollar Tree supplies.
- Pick icons, not details: Zero’s long nose and floppy ears read from across the street. Simple character shapes beat fussy ones.
- One hero per window: a single big character looks intentional; five small ones look cluttered.
- Sunset timing: photograph and enjoy at dusk when the sky behind the silhouette is still glowing. Pair it with the lighting tricks in our roundup of Halloween window silhouettes that glow at night.
10. Faux Stained-Glass Window Art
View this post on Instagram
Credit: @oghappycakesdiy
Not ready to paint your actual window? Make the art on a clear plastic sheet instead, then hang the finished panel in the window with suction cups. You get the same glowing stained-glass effect, and it lifts right off in November with zero cleanup.
Use gallery glass paint or food-color-tinted glue for the colors and black puffy paint for the leading. Hang two or three panels at different heights on fishing line and they will drift gently — like the window is alive.
Pro tip: suction cups fail on cold glass. Warm the spot with your hand for 30 seconds first and they will hold all season.
11. Pottery Barn Lit-Ghost Dupe
View this post on Instagram
Credit: @doitonadime
Pottery Barn sells glowing ghost figures for silly money. This dupe uses Dollar Tree finds to build the same look: a ghost form lit from inside, glowing on your windowsill like a little spirit guarding the house. Line up three in a row and the sill becomes the star of the whole room.
| Dupe build | Price |
|---|---|
| White ghost form / fabric ghosts (3) | $3.75 |
| LED tea lights (6-pack) | $1.25 |
| Trio of glowing ghosts | $5.00 |
12. Hanging Stained-Glass Raven Frame
View this post on Instagram
Credit: @jaymuneediy
End with the fanciest trick in the book. Grab a small black frame from Dollar Tree, pop out the glass, and paint a Halloween scene on it — a raven, a moon, a haunted house. Mix white glue with food coloring for translucent “glass paint,” outline with black puffy paint, and hang the finished piece right in the window.
Daylight shines through the colors like a real stained-glass panel. It is the kind of piece guests assume came from an artisan market, and it started life as a $1.25 frame.
Pro tip: hang it with clear fishing line from a suction cup — invisible from the street, and the art appears to float in the glass.
Conclusion
Twelve windows, twelve dollar-store trips, and not a single one that looks cheap. The pattern is simple: pick one hero idea per window, layer in warm light, and let height do the talking.
Start with the easiest win — the fairy-light frame or a pack of clings — and add one bigger project each weekend, like learning to make Halloween window silhouettes from scratch. By Halloween night, your whole house will glow like you hired it out.
And when November comes? Everything here peels, wipes, or lifts off. No regrets, no residue, just your deposit-safe windows and a very smug feeling.
FAQs
Will Dollar Tree window clings damage my windows?
No. Gel clings and peel-and-stick films are made to remove cleanly — just peel slowly from a corner. If any sticky bit stays behind, warm it with a hair dryer for 20 seconds and wipe with glass cleaner.
How do I make dollar-store decor look expensive?
Three rules: stick to two or three colors, group items in odd numbers, and always add light. A $1.25 item lit warmly reads as ten times its price. Clutter is what gives away a budget — edit hard.
What are the best Dollar Tree items for windows?
Black poster and foam board, peel-and-stick window film, gel clings, battery fairy lights, LED tea lights, black puffy paint, and plastic bat or spider packs. Those seven items cover nearly every idea on this list.
Do dollar-store battery lights last all of October?
Most run 4–6 hours a night for 2–3 weeks on the included batteries. Swap in fresh batteries mid-month, or buy the timer versions — they switch themselves on at dusk and stretch the batteries much further.
Can I reuse Dollar Tree Halloween window decor next year?
Absolutely. Store clings flat between sheets of wax paper, keep poster-board silhouettes in a portfolio folder, and coil fairy lights loosely around cardboard. Glue-ghost clings last for years if you make them thick.