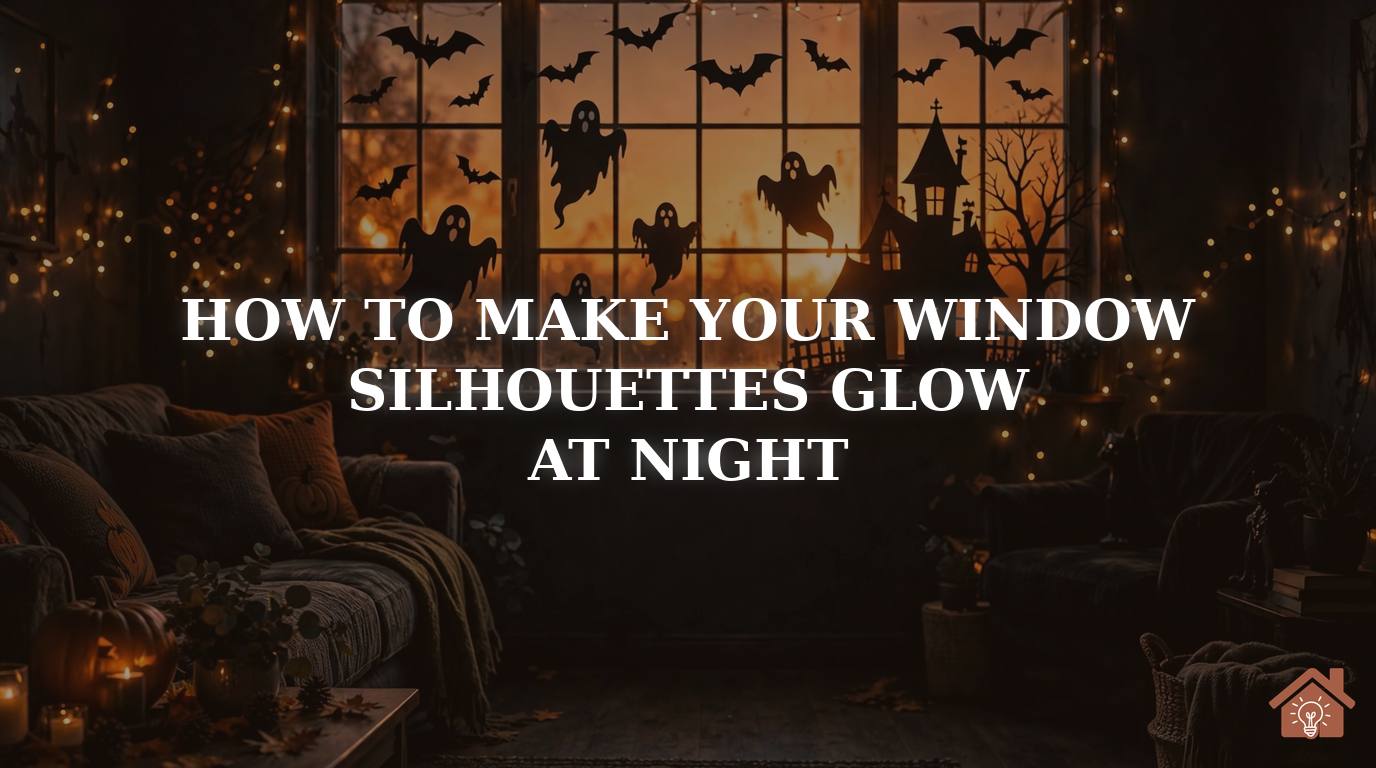
You cut the perfect witch. It looks great by day. Then night falls and it just sits there — flat, grey, invisible from the street.
The silhouette was never the hard part. The glow is.
Good news: you do not need costly gear. Just remember one rule — light goes behind the cutout, not in front of it.
This guide covers every cheap backlight trick that works, from a desk lamp to LED strips. Soon people will slow down to stare at your windows.
🎃 Key Points: Glowing Window Silhouettes
- The one rule: the light source sits behind the silhouettes, aimed at the window.
- Best all-rounder: warm-white or orange LED strip lights — cheap, cool, and bright.
- Boldest look: colored LEDs (purple, green) turn the whole window into a haunted glow.
- Pro move: cut eye holes and detail holes so pinpoints of light shine through.
- Safety first: always use LEDs — they run cool and sip electricity.
Table of Contents
Step 1: Learn the One Rule of Glow
View this post on Instagram
Credit: @sierralmiller
A silhouette only exists because of contrast: a dark shape against a bright background. That means your job is not to light the cutout — it is to light the window behind it. Place your light source deeper in the room than the silhouettes, aimed toward the glass. The lit window becomes the glowing canvas; the black paper becomes the art.
The most common failure looks like this: someone tapes up beautiful silhouettes, then relies on the ceiling light. The result is flat and grey because overhead light washes the room evenly instead of blasting the window. The fix costs nothing — drag a table lamp over, point it at the window from a foot or two back, and watch the scene ignite. Everything in this guide is a variation on that single move.
If you have not cut your silhouettes yet, start with how to make Halloween window silhouettes in 30 minutes, then come back and light them like a pro.
Step 2: Pick Your Light Source
View this post on Instagram
Credit: @britain_bennett
Almost any light works, but they are not equal. Here is the honest breakdown:
💡 Light Source Showdown
| Source | Glow Quality | Cost |
| Table lamp (you own one) | Strong, warm, slightly uneven | Free |
| Battery fairy lights | Sparkly, magical, dimmer | $3–$6 |
| LED strip lights | Even, saturated color | $8–$15 |
| RGB floodlight | Dramatic, whole-window wash | $15–$25 |
All of these are LEDs: cool to the touch, safe near paper, and cheap to run all October.
The example above shows the floodlight route — a single purple RGB floodlight behind the window turns budget foam ghosts into something genuinely haunting. If you only buy one thing, make it an LED strip: it gives the most even, most controllable glow per dollar.
Step 3: Go Warm — the Classic Orange Glow
View this post on Instagram
Credit: @alysssacevedo
Orange is the jack-o’-lantern color for a reason: it reads as “Halloween” instantly, flatters every silhouette style, and looks incredible from the street. The easiest warm glow comes from orange LED string lights or an orange LED strip mounted behind the window — the townhouse above uses simple orange interior LEDs and the effect is perfect.
No colored lights? Cheat it: tape orange or yellow tissue paper to the glass behind your black silhouettes, then light it with any warm-white lamp. The tissue diffuses the light into a soft, even amber wash — arguably prettier than bare bulbs, because it hides hotspots. Two layers of tissue deepen the color; one layer keeps it bright. This is also the trick behind our 21 glowing silhouette ideas — most of them use this exact tissue-paper method.
Step 4: Go Bold — Color Your Glow
View this post on Instagram
Credit: @rachel_meaders
Orange is classic, but color is where windows get unforgettable. Purple reads as haunted-mansion mystery. Green is pure toxic-waste mad science. Icy blue turns ghosts genuinely chilling. The arched window above cycles purple, blue, and green — and each color completely changes the mood of the same silhouettes.
You have two routes to color. Colored LEDs (RGB strips or smart bulbs) give saturated, controllable color you can change nightly. Colored tissue or lighting gels over warm-white lights are cheaper and softer. One warning: very saturated color washes out silhouette detail, so keep your shapes extra bold when going neon. And if your whole street goes orange, a single purple window becomes the one everyone photographs.
Step 5: Position Lights for Even Coverage
View this post on Instagram
Credit: @craftyfun_com
Uneven light is the silent killer of window displays: one blazing hotspot in the middle, dark corners everywhere else. The fix is distance and diffusion. Move the light source back from the window — 2 to 3 feet is the sweet spot — so the beam spreads before it hits the glass. A bare bulb six inches from the pane will always hotspot; the same bulb three feet back washes evenly.
String lights solve this elegantly: drape them in loose zigzags across the whole window area (taped to the wall or curtain rod behind the glass) and the dozens of tiny bulbs average out into an even field. The four-window display above uses exactly this — string lights taped behind each pane. For LED strips, run them around the window frame’s inner perimeter pointing inward, or bounce the light off a white sheet hung behind the scene for the softest possible glow.
Step 6: Cut Detail Holes So Light Shines Through
View this post on Instagram
Credit: @brittney.lites
Here is the detail that separates good windows from great ones: negative space. Wherever you cut a hole in the black paper, pure light blazes through. Cat eyes, jack-o’-lantern grins, haunted-house windows, skeleton ribs — these glowing pinpoints are what make people stop and stare.
Plan your holes before you cut the silhouette, and cut them while the shape is still part of the full sheet (much easier than cutting a flimsy finished shape). Small, sharp craft-knife cuts beat scissor nibbles for eyes and teeth. As a rule of thumb: if a detail is smaller than a coin, cut it out and let the light do the work instead of trying to draw it. The Dobby silhouette above is the perfect demo — the whole piece is one flat cutout, but the light coming through its eyes and outline makes it look three-dimensional.
Step 7: Layer Light for Depth
View this post on Instagram
Credit: @raisingautumn
One light source gives you a silhouette. Two give you a scene. Layering means combining a broad wash (an LED strip or lamp lighting the whole window) with accent lights (fairy lights woven through the display, a spotlight on one hero shape). The zombie window above is a masterclass: green LEDs frame the window while sheer fabric diffuses the center, so the black zombie shapes float in a dimensional green haze instead of sitting flat on glass.
Try this combo: an orange tissue-paper backdrop lit by a warm lamp for the base glow, plus a string of purple fairy lights draped in front of the silhouettes (between the shapes and the room). The foreground sparkle reads as “magic in the air” from the street. Keep the layers subtle — the backdrop should always be the brightest element, or the silhouettes lose their edge.
🎭 The 3-Layer Formula
- Layer 1 — Backdrop: tissue paper or a white sheet, lit warm. This is your canvas.
- Layer 2 — Silhouettes: black shapes mounted on the glass, between backdrop and street.
- Layer 3 — Sparkle: fairy lights in front of the shapes (room side) for depth.
Nail these three and your window looks professionally designed.
Step 8: Put It on Autopilot
View this post on Instagram
Credit: @kristinnicolemiller_
The best Halloween window is one you never have to think about. A simple plug-in timer (about $8) turns your display on at dusk and off at midnight automatically — no more forgetting, no more lights blazing at 3am. Battery fairy lights with built-in timers are even easier: most have a 6-hours-on/18-hours-off cycle activated by a single button press.
Going further: smart plugs let you schedule and dim from your phone, and dusk-to-dawn sensor LEDs handle everything with zero setup. If you love fairy lights indoors too, the same timer tricks keep your bedroom twinkling without the electricity guilt. Set it once in early October and your haunt runs itself until November.
Conclusion
Glowing windows are not about buying more stuff — they are about putting light in the right place. Behind the silhouettes, aimed at the glass, diffused and deliberate. Whether you go classic orange, haunted purple, or layered like a theatre set, the principle never changes.
Start tonight: drag a lamp behind your window and see the difference. Then add one upgrade — tissue paper, a $10 LED strip, a timer — and watch your house become the one the neighborhood talks about. For the full design inspiration, browse our 21 glowing silhouette ideas and our 15 Halloween window painting ideas to mix painted and cut-paper effects in the same display.
FAQs
Are LED lights safe behind paper silhouettes?
Yes — LEDs run cool to the touch, unlike old incandescent bulbs. Keep any light a few inches from the paper, never let fabric rest directly on a bulb, and you will have zero heat issues. This is why every method in this guide specifies LED.
What if there is no outlet near my window?
Battery-operated fairy lights and LED strips are made for exactly this. A strand of 20–50 warm-white fairy lights on batteries runs for weeks on a timer cycle, and USB-rechargeable strips eliminate battery costs. No cords, no electrician.
Will the lights damage my windows?
No. LEDs produce negligible heat and no UV worth worrying about. Mount everything with painter’s tape or removable hooks and your glass, frames, and sills will be untouched. See also our renter-friendly decorating ideas for more damage-free tricks.
How do I avoid ugly bright hotspots?
Move the light source further from the window (2–3 feet is ideal) and diffuse it: tissue paper, a white sheet, or frosted shower-curtain liner between the bulb and the glass spreads the beam evenly. Multiple small lights also average out better than one big bulb.
Can I leave my window display on all night?
You can, but a timer is smarter — dusk to midnight covers all the foot traffic while saving electricity and bulb life. Dusk-to-dawn sensor lights are the zero-effort option if you want the full-night haunt.